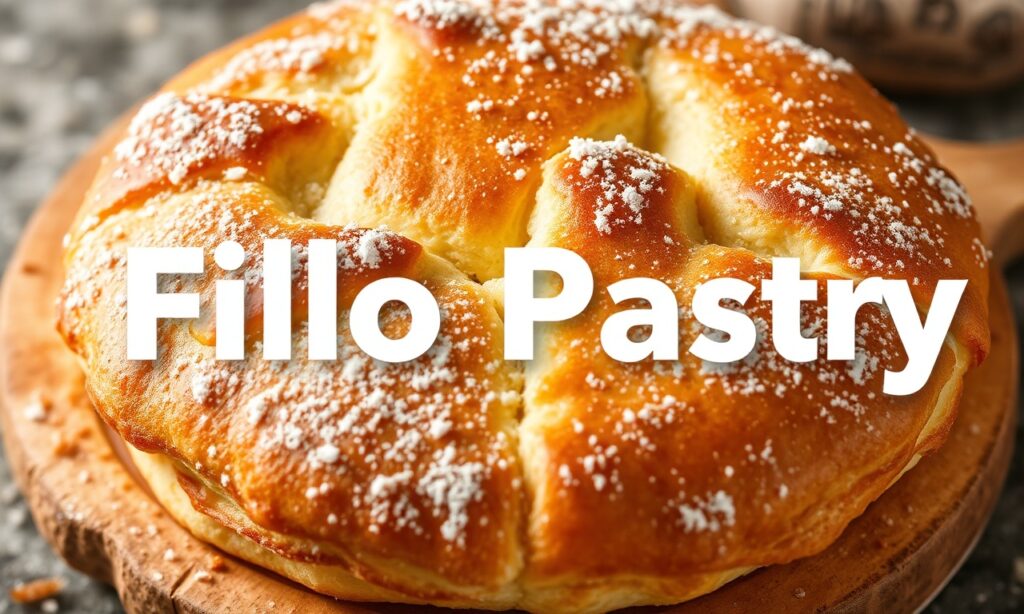
There’s something almost magical about filo pastry-the way its paper-thin layers transform into crisp, golden sheets that shatter delicately with every bite. But for those navigating the gluten-free world, achieving that iconic lightness and crunch can feel like an elusive dream. Fear not: with the right ingredients, techniques, and a little patience, you can master gluten-free homemade filo pastry that rivals the customary version.
When it comes to Filo Pastry, In this guide, we’ll unwrap the secrets to crafting filo that’s unmistakably crisp, feather-light, and perfectly suited for all your favourite sweet and savory creations-no gluten required. Let’s roll up our sleeves and dive into a world where delicate meets flavorful, proving that gluten-free baking can be every bit as enchanting.
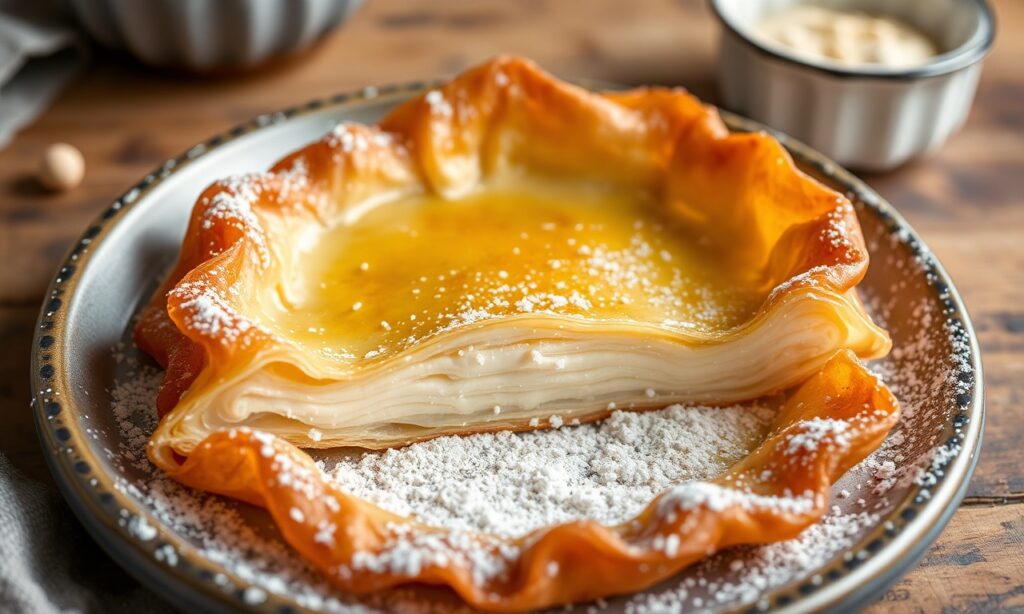
crisp & Light homemade gluten-free filo pastry is a culinary marvel that transforms traditional delicate layers into something just as flaky and tender without wheat gluten. This pastry’s magic lies in the artful balance of flour combinations, hydration, and technique-each step crucial to achieving that ethereal crunch and translucent elegance cherished in Mediterranean and Middle Eastern cooking. I still recall the first time I managed to pull off flawless gluten-free sheets: the kitchen filled with warm flour dust and a sense of accomplishment that comes with mastering this pastry’s science.
Prep and Cook Time for Filo Pastry
- Readiness: 1 hour 30 minutes (including resting time)
- Cooking/Baking: 15-20 minutes per batch
Yield
Approximately 12 large sheets suitable for pies, rolls, or layered pastries.
Difficulty Level
Advanced: Requires practice with dough handling and layering, but the results are rewarding.
Ingredients
- 1 cup brown rice flour, sifted
- 1/2 cup tapioca starch
- 1/4 cup cornstarch
- 1 teaspoon xanthan gum (for elasticity)
- 1/2 teaspoon salt
- 2 tablespoons olive oil, plus extra for brushing
- 3/4 cup warm water (plus extra if needed)
- 1 teaspoon lemon juice (helps tenderize dough)
- Rice flour, for dusting the work surface
Step-by-Step Instructions
- Combine Dry Ingredients: In a large bowl, whisk together brown rice flour, tapioca starch, cornstarch, xanthan gum, and salt to create a uniform base that mimics gluten’s binding properties.
- Incorporate Liquids: Slowly add warm water, olive oil, and lemon juice while mixing gently. Use a wooden spoon or your hands to form a pliable dough. It should be slightly sticky but manageable.
- Knead and Rest: Transfer dough to a lightly floured surface with rice flour and knead for about 5 minutes. Wrap in plastic and let rest for 45 minutes to relax starches and improve stretchability.
- Divide and Roll: Cut dough into 12 equal portions. One portion at a time, roll out dough thinly on a rice-floured surface, aiming for near-openness. Use a clean rolling pin and lift frequently to avoid sticking.
- Layering Sheets: Stack each sheet carefully on top of one another,brushing a thin layer of olive oil between layers to prevent drying and encourage crispness on baking.
- Prepare for Baking: Use the stacked sheets to craft your desired filo-based dish. For immediate use, preheat oven to 350°F (175°C).
- Bake to Perfection: Bake your prepared pastry for 15-20 minutes or until golden, crisp, and flaky. Watch closely-gluten-free filo can brown quickly towards the end.
Filo Pastry: Tips for Success: expert Techniques to Perfect Crisp & light Texture
- Flour Selection: Blending brown rice flour with tapioca starch adds both structure and the coveted stretchiness for delicate sheets without tearing.
- Work Quickly: Filo dough dries fast, so brush olive oil between sheets promptly to maintain moisture and prevent cracking.
- Rolling Thinness: Aim for nearly paper-thin sheets yet handle gently; gluten-free doughs lack elasticity and require patience.
- Use Rice Flour: Dust liberally but avoid wheat or corn flours to keep the gluten-free purity intact.
- Storage Tip: Stack sheets separated by parchment paper and refrigerate up to 2 days or freeze for up to 1 month. Let thaw fully before use to maintain versatility.
- Alternative Oils: Mild-flavored oils like grapeseed or avocado can replace olive oil for a subtler taste and crisp finish.
- Troubleshooting Cracks: If dough tears easily, add a teaspoon of vegetable glycerin or increase hydration slightly during mixing.
Serving Suggestions
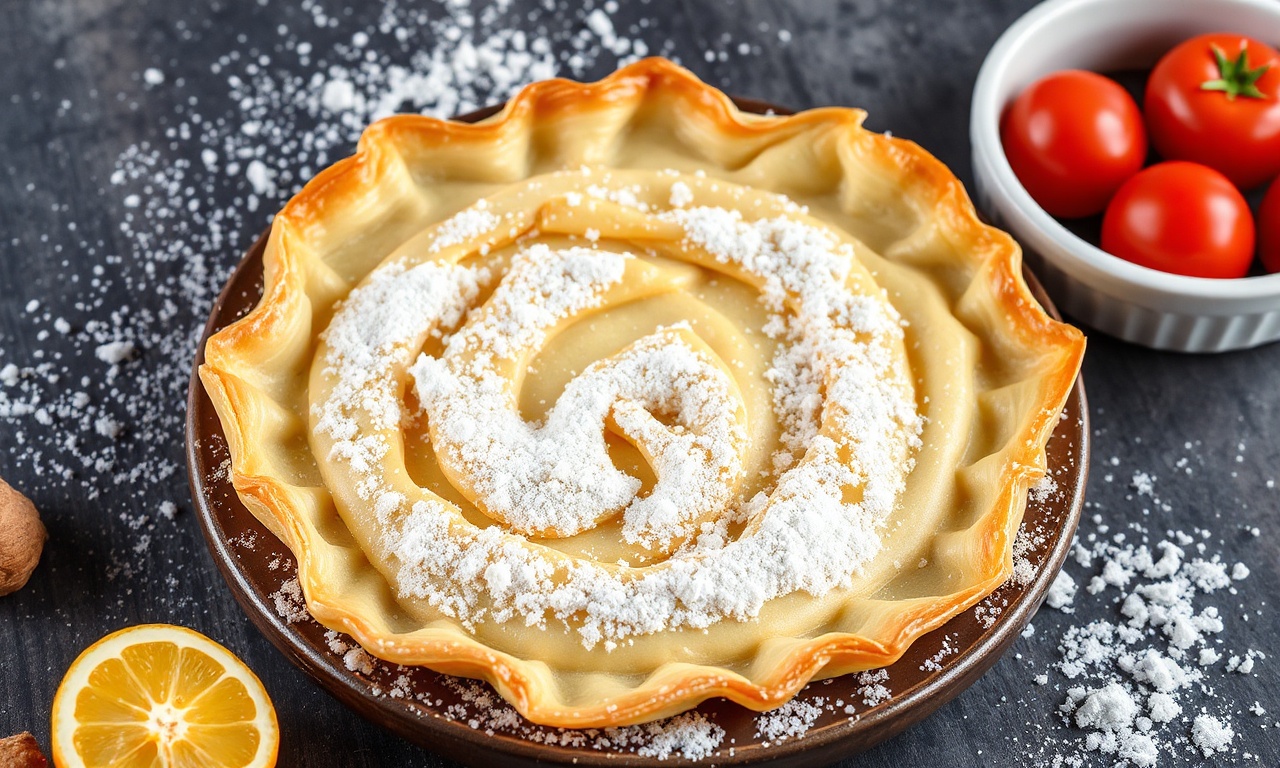
This crispy gluten-free filo pastry shines in both savory and sweet preparations.Use sheets to create beautifully layered spanakopita with dairy-free feta and fresh spinach, or for delicately spiced baklava using a nut and honey filling. Garnish with toasted sesame seeds or a dusting of powdered sugar, depending on your creation. Serve warm alongside a fresh citrus salad or cooling mint yogurt dip to balance textures and flavors.
| Nutrient | Per Sheet (approx.) |
|---|---|
| Calories | 55 kcal |
| Protein | 1.2 g |
| Carbohydrates | 11 g |
| Fat | 1.5 g |
For additional inspiration on gluten-free baking feats, check out our collection of gluten-free pastry recipes. To deepen your understanding of gluten-free flours and their properties, the Celiac Disease Foundation offers an excellent guide.
Q&A
Q&A: Crisp & Light - How to Make Gluten-Free Homemade Filo Pastry
Q1: What makes filo pastry so uniquely crisp and light?
A1: Filo pastry’s signature texture comes from its paper-thin layers, brushed generously with fat between each sheet. When baked, these delicate layers puff up and separate, creating a crisp, flaky structure that’s both light and irresistibly crunchy.
Q2: Is it really possible to make gluten-free filo pastry at home?
A2: Absolutely! Although gluten lends elasticity and strength, with the right blend of gluten-free flours and some kitchen patience, you can create thin, flexible sheets that bake into crisp, delicate layers. The key lies in balancing moisture,using xanthan gum or psyllium husk for stretch,and mastering a slow rolling technique.
Q3: Which gluten-free flours work best for filo dough?
A3: A combination shines here-tapioca starch or arrowroot for stretch and crispness, rice flour for a light texture, and a bit of chickpea or sorghum flour for structure. The starches help mimic gluten’s elasticity, while the protein-rich flours provide vital dough strength.
Q4: How do you prevent gluten-free filo sheets from breaking during rolling?
A4: Patience is your ally. Roll the dough slowly and evenly, dusting with a light flour blend to avoid sticking. Additionally, allowing the dough to rest hydrated lets the proteins and fibers relax, making it more pliable. Using a soft rolling pin and gentle hands helps avoid tears.
Q5: What fats are ideal for brushing between filo layers in a gluten-free batch?
A5: Traditionally, melted butter is classic, but for lighter or vegan versions, olive oil or a neutral-flavored vegetable oil work beautifully. These fats permit crisp layering and golden browning without overpowering the delicate dough.
Q6: Can I freeze homemade gluten-free filo pastry sheets?
A6: Yes! After rolling and layering with parchment sheets between each, freeze the sheets flat in an airtight container. when ready to use,thaw gently at room temperature. This way, you can bake fresh-tasting filo on demand without the stress of daily dough prep.
Q7: Any pro tips for baking gluten-free filo for best crispness?
A7: Bake in a preheated oven at a moderately high temperature-around 375°F (190°C)-to encourage swift steam buildup and crisp layers. Avoid covering while hot; let pastry cool briefly on a wire rack to maintain crispness.
Q8: How versatile is gluten-free homemade filo pastry in cooking?
A8: Incredibly versatile! It’s a perfect canvas for both sweet and savory creations-think spiced vegetable or mushroom parcels, delicate nut and honey baklava, or even crispy breakfast wraps. Its crisp,flaky allure adds texture and elegance to any dish.
Q9: Any natural ingredients that help mimic the elasticity of gluten in filo pastry?
A9: Psyllium husk powder and xanthan gum are fabulous helpers. They bind moisture and create a stretchy network in gluten-free dough that’s essential for rolling thin sheets without tearing.
Q10: what’s the most common mistake when making gluten-free filo pastry and how to avoid it?
A10: The biggest pitfall is drying out the dough or rolling too thickly, which leads to brittle or dense layers. To avoid this, keep the dough covered with a damp cloth while working, roll evenly thin, and brush each sheet generously with fat to encourage separation during baking.
Embrace the art of lightness with gluten-free filo pastry at home-where science and creativity fold into the perfect crispy delight!
The Conclusion
From the delicate crackle of each golden layer to the light, airy texture that melts on your tongue, mastering gluten-free filo pastry is no longer a distant dream but a delightful reality. With the right techniques and a bit of patience, you can bring the magic of homemade crisp and light filo to your kitchen-sans gluten but full of flavor. So next time you crave that flaky perfection, remember: a little knowledge and care transform simple ingredients into a culinary masterpiece that everyone can enjoy. Happy baking, and may your creations always be delectably airy and irresistibly crisp!

See also: Filo Pastry