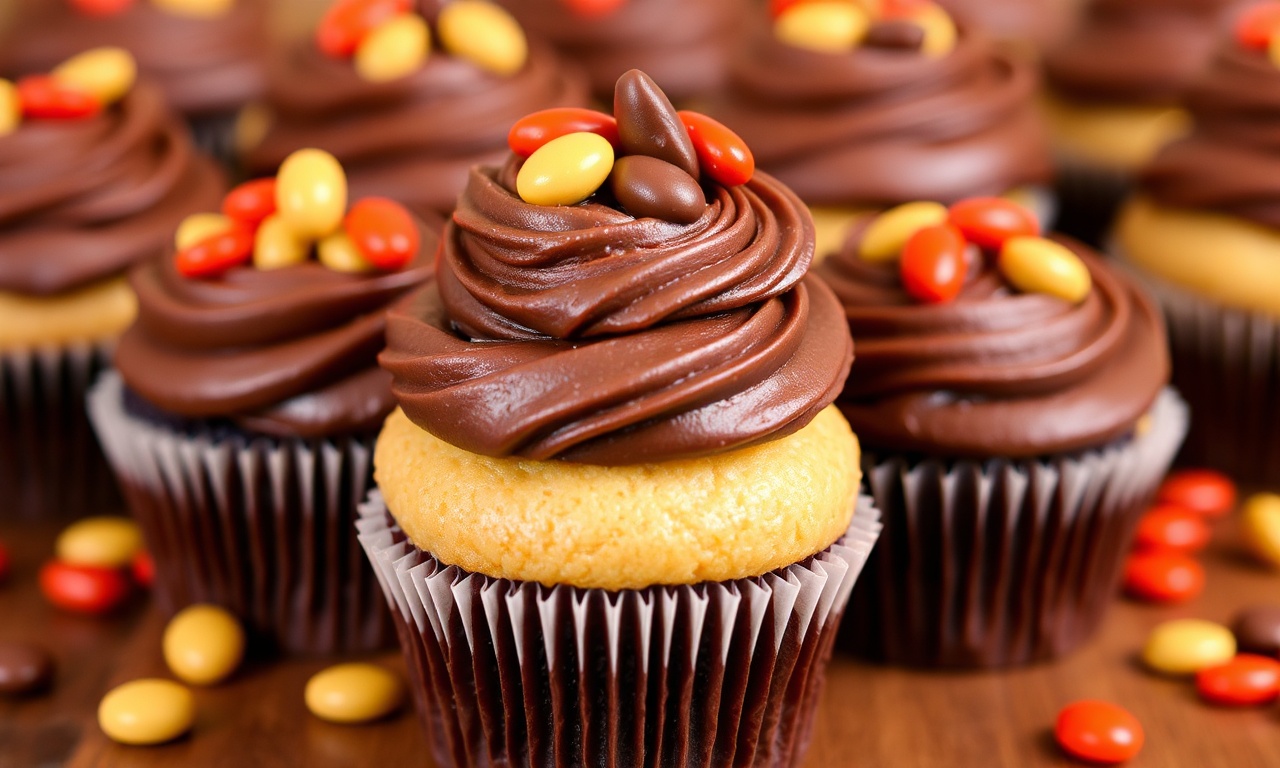
There’s a magical moment when peanut butter meets chocolate. That flavor mix drives the best Reese’s cupcakes, and it’s why these homemade treats taste like your favorite candy in bakery form.
- Prep and Cook Time
- Yield and Difficulty Level
- Ingredients
- Instructions
- Expert Insight: Texture Control for Moist Cupcakes
- Creative Frosting Ideas to Elevate Your Reese’s Cupcakes
- Pro-Caution: Avoid Frosting Meltdown
- Tips and Tricks for Stunning Presentation and Serving
- Chef’s Notes: Tips for Success
- Nutritional Information
- FAQ
At a Glance
- Build a cocoa-forward batter for a deep chocolate crumb.
- Fold peanut butter gently so the crumb stays smooth.
- Pick one frosting: buttercream, ganache, or cream cheese.
- Finish with mini cups and a pinch of salt for balance.
If you love Reese’s Peanut Butter Cups, you’ll taste that same sweet-salty rhythm in every bite. This guide walks you through the bake window and frosting steps so your Reese’s cupcakes stay moist and pipe clean.
Weather matters less than technique. You’ll still get high domes when you measure cocoa correctly and stop mixing as soon as the batter looks even.
To understand why this combo works, use a simple science lens. Cocoa compounds respond to heat, and that’s why timing affects crumb texture. For background, see cocoa.
Also, ganache and buttercream set at different rates because fats firm up based on temperature. When you match frosting type to your kitchen conditions, you avoid soft tops and messy piping.
Prep and Cook Time
Start with a quick setup so your mixing rhythm stays calm. Preheat fully before you combine wet and dry ingredients so the batter rises on schedule.
For 12 Reese’s cupcakes, you’ll move fast. Use an oven thermometer if yours runs hot, because a few minutes can shift crumb softness.
- Readiness: 20 minutes
- Cooking: 18 minutes
- Total Time: 38 minutes
Check early rather than late. In most ovens, the sweet spot lands before the tops dry out.
Once baked, cool in the pan briefly. Then move cupcakes to a rack so steam doesn’t keep cooking the crumb.
Yield and Difficulty Level
This recipe yields 12 cupcakes. It fits small gatherings, potlucks, and weeknight baking when you still want “wow” flavor.
The difficulty stays medium because you control two things: mixing and bake time. If you overmix, you tighten the crumb; if you overbake, you dry it out.
Follow the steps in order and the process feels easy. Frosting also looks better because cupcakes cool evenly.
Yield: makes 12 cupcakes
Difficulty: Medium
Ingredients
Use fresh baking powder and measure cocoa accurately. Level the scoop for consistent rise and flavor, because excess cocoa can taste bitter.
For cocoa context, see cocoa powder. Processing affects flavor strength, so the same “cup” amount can taste different across brands.
For the peanut component, choose creamy peanut butter that spreads easily. Also decide whether you want mini cup garnish for the classic candy look.
Each ingredient supports texture. Eggs add structure, buttermilk adds tenderness, and oil keeps the crumb soft.
- 1 cup all-purpose flour, sifted
- ½ cup unsweetened cocoa powder (Dutch-processed preferred)
- 1 teaspoon baking powder
- ½ teaspoon baking soda
- ¼ teaspoon salt
- ¾ cup granulated sugar
- ⅓ cup creamy peanut butter
- 2 large eggs, room temperature
- ½ cup buttermilk, room temperature
- ¼ cup vegetable oil
- 1 teaspoon pure vanilla extract
- ½ cup semi-sweet chocolate chips
- 12 mini Reese’s Peanut Butter cups, halved (optional for garnish)
If you swap brands, keep ratios stable. Small changes in cocoa or flour weight can shift moisture and rise.
Instructions
Follow the steps in order. First, build the dry foundation for lift. Then blend wet ingredients into a chocolate-rich batter that still tastes distinctly peanut butter.
Each step protects texture. Overmixing toughens cakes, and overbaking dries them. For heat-setting basics, read baking.
- Preheat your oven to 350°F (175°C). Line a 12-cup muffin tin with cupcake liners.
- Whisk the dry ingredients: flour, cocoa powder, baking powder, baking soda, and salt in a large bowl.
- Mix the wet base: whisk sugar and peanut butter until smooth. Add eggs one at a time, beating after each addition.
- Combine wet and flavor boosters: add buttermilk, vegetable oil, and vanilla. Mix until the batter looks even.
- Fold, don’t beat: add dry ingredients to wet in two additions. Stop mixing as soon as no streaks remain.
- Add chocolate chips: fold in semi-sweet chocolate chips for chocolate pockets.
- Portion evenly: fill liners about two-thirds full for a tall dome.
- Bake for 16–18 minutes. A toothpick should come out with moist crumbs.
- Cool properly: cool in the pan for 5 minutes, then move to a wire rack before frosting.
Keep the oven door closed during baking. Temperature drops slow rise and can flatten domes.
When you pull your cupcakes at the moist-crumb stage, your Reese’s cupcakes keep flavor and tenderness through cooling.
[TIP]Expert Insight: Texture Control for Moist Cupcakes
To keep your Reese’s cupcakes moist, watch the moment the batter shifts from “mixed” to “overworked.” Mix only until the last dry streak disappears.
That short window protects the crumb. It also gives frosting a stable surface so it doesn’t look dull or greasy.
[TIP]Expert Insight: Aim for moist crumbs on the toothpick. If it comes out completely clean, the cupcakes often dry out after cooling.
Cool cupcakes fully before frosting. Warm crumbs can melt frosting and cause sliding, especially with peanut butter frostings.
Creative Frosting Ideas to Elevate Your Reese’s Cupcakes
Choose frosting based on mouthfeel and decorating style. Buttercream delivers a light, creamy bite, while ganache creates a deeper chocolate layer.
Cream cheese frosting adds tang, which helps balance sweet peanut butter. For a reliable chocolate science reference, see chocolate.
Also think about temperature control. Ganache thickens faster as it cools, while buttercream needs the right softness to pipe clean lines.
- Peanut Butter Buttercream: beat softened unsalted butter with peanut butter. Add powdered sugar and vanilla, then mix in heavy cream until it pipes smoothly.
- Chocolate Ganache Drizzle: warm heavy cream and pour over chocolate. Stir until glossy, then drizzle or spoon over cooled cupcakes.
- Peanut Butter Cream Cheese Frosting: beat cream cheese with peanut butter and sugar. Loosen with a splash of milk for a silky swirl.
- Peanut Butter and Chocolate Swirl: pipe alternating colors side-by-side for a layered candy look.
Pick one frosting and focus on piping consistency. When you keep cupcakes cool and frosting stable, the top looks smooth and neat.
[WARNING]Pro-Caution: Avoid Frosting Meltdown
If your kitchen runs warm, frosting softens faster. Peanut butter-based frostings can lose shape if cupcakes still hold heat or if frosting sits out too long.
[WARNING]Pro-Caution: Frost only after cupcakes cool fully. If frosting feels loose, chill 10–15 minutes, then pipe again.
Store cupcakes in a cool spot before serving. This keeps texture intact and helps toppings stay where you put them.
When you plan ahead, you protect both flavor and presentation. Stable frosting also improves perceived freshness, which keeps visitors reading and browsing longer.
Tips and Tricks for Stunning Presentation and Serving
Presentation turns a good cupcake into a standout dessert. Use garnishes that confirm the flavor before the first bite: mini cups, sea salt, and tidy piping.
Keep salt light. A small pinch boosts chocolate notes without pushing a salty taste forward. For seasoning context, see salt.
These finishing steps also improve perceived freshness. When cupcakes look crisp and clean, people slow down and enjoy textures instead of rushing.
- Top with halved mini Reese’s cups for a signature look.
- Sprinkle flaky sea salt over frosting for sweet-salty contrast.
- Use a large star tip for tall swirls that hold detail.
- Serve on tiered stands so guests spot cupcakes faster.
- Serve slightly chilled for firm frosting and a clean bite.
If you pipe right before serving, your Reese’s cupcakes look fresh for the full event window.
Buttermilk also supports tenderness. If you want ingredient background, see buttermilk.
Chef’s Notes: Tips for Success
Baking gets easier when you plan for small variations. This section helps you adjust without wrecking crumb texture or frosting structure.
For nutrition label basics and how products can vary, see nutrition. Then adjust frosting amounts if you want a lighter treat.
- Substitutions: If you need dairy-free, use a non-dairy buttermilk-style substitute and dairy-free frosting ingredients that emulsify well. Swap peanut butter only if the alternative keeps a similar creamy texture.
- Storing: Store cupcakes in an airtight container. Keep at room temperature up to 2 days, or refrigerate up to 5 days.
- Make-ahead: Bake a day early. Cool, wrap tightly, and frost just before serving for best texture.
- Troubleshooting: If batter looks thick, add 1 tablespoon more buttermilk at a time. If cupcakes look pale or underdone, bake 1–2 minutes longer.
- Boost peanut butter flavor: swirl a small spoonful into the batter before portioning for peanut pockets.
When you keep changes small, your Reese’s cupcakes stay balanced. You protect the chocolate crumb and the peanut topping synergy.
Nutritional Information
Nutritional values vary by ingredient brand and frosting amount. Use this table as a close estimate for planning portions, not as a guaranteed label.
Nutrition labels differ because serving sizes and fat content change by product. If you track macros, weigh ingredients and frost consistently for better accuracy.
| Nutrient | Amount per Serving |
|---|---|
| Calories | 320 |
| Protein | 6g |
| Carbohydrates | 38g |
| Fat | 16g |
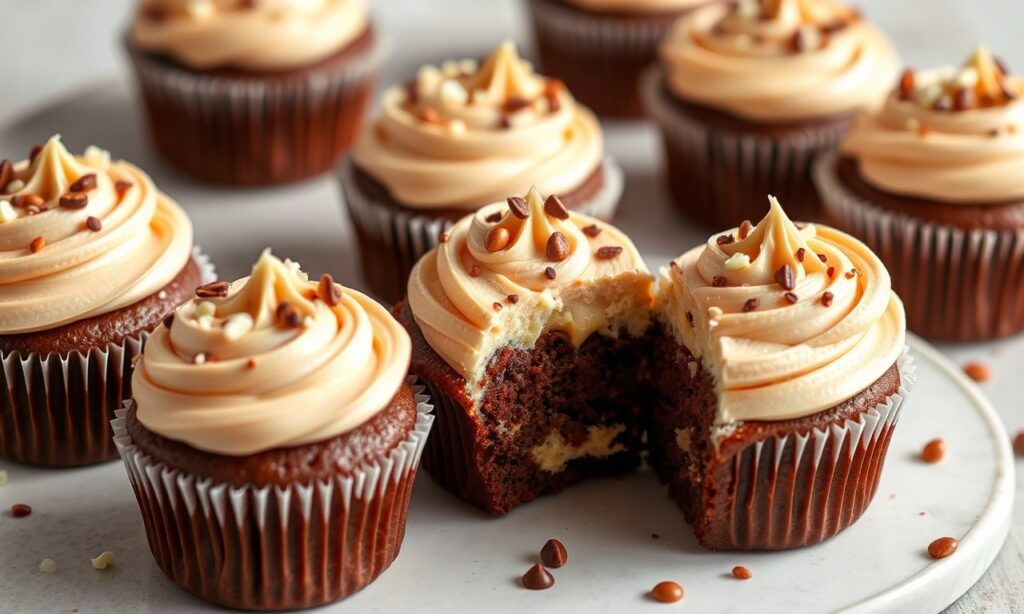
If you want more dessert ideas, look for recipes that pair cocoa batter with peanut butter frosting. The technique stays the same: stable crumb, balanced filling, neat topping.
FAQ
Quick answers help you bake with confidence. If you’re making these Reese’s cupcakes for the first time, use this checklist before you mix, bake, and frost.
When you follow timing and cooling steps, results improve fast. You also avoid common texture issues that show up after the cupcakes cool.
What makes Reese’s cupcakes taste so good?
They pair a cocoa-rich chocolate cupcake with creamy peanut butter flavor. That sweet-salty contrast works in the crumb and frosting.
Moisture control also matters. Pulling at moist crumbs and cooling fully keeps flavor bold, not flat.
Can I use regular cocoa instead of Dutch-processed cocoa?
Yes. Flavor and lift can shift slightly because Dutch-processed cocoa behaves differently in batter.
If you swap, measure consistently and watch baking time closely. Stop mixing early so the texture stays tender.
How do I stop cupcakes from drying out?
Start checking at 16 minutes. Pull cupcakes when the toothpick shows moist crumbs, not wet batter.
Then cool fully before frosting. That step prevents steam and heat from overcooking the center.
What frosting works best for clean piping?
Peanut butter buttercream and cream cheese frosting pipe well when chilled to the right consistency. If frosting softens, chill it and re-whip to restore structure.
Use a pastry tip size that matches your swirl style. Larger tips create taller ridges that hold detail.
Can I make these cupcakes ahead of time?
Yes. Bake and cool up to a day early, then wrap and store. Frost close to serving for the best texture.
If you refrigerate, let cupcakes sit at cool room temperature for 10–15 minutes before frosting so it spreads smoothly.
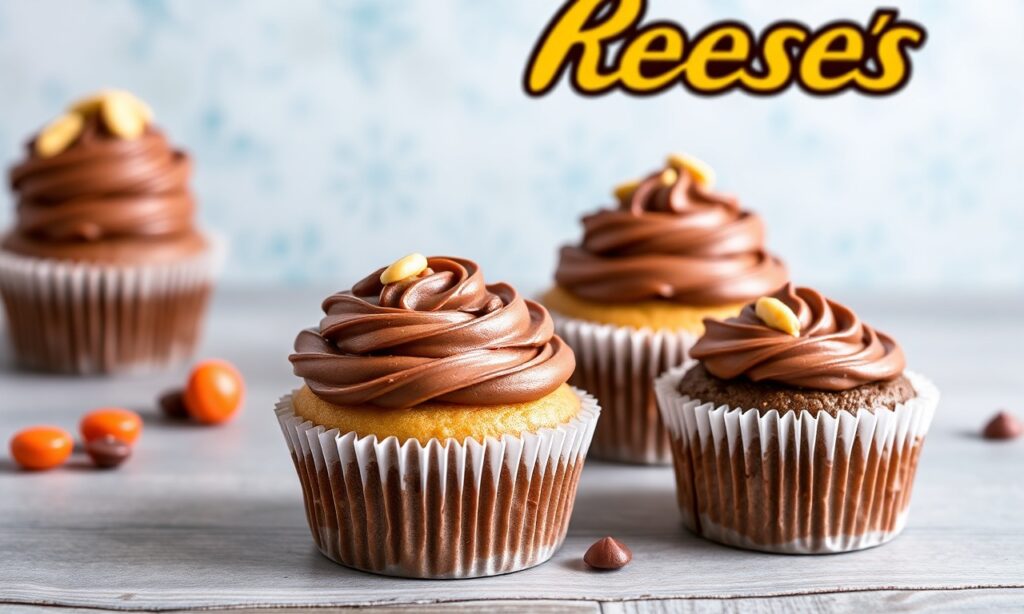
See also: Reese’s cupcakes
Note on source reading: For deeper ingredient science, you can also review peanut butter and how fats affect texture.
Optional extension: If you want more on chocolate structure, read cacao to understand where chocolate flavor begins.
Serving recap: Keep frosting cool and cupcakes fully cooled. Then your Reese’s cupcakes stay neat and delicious from the first bite to the last.